Branches, workflows, and Git for grown-ups
Learn how to organize your Git workflow: branches, strategies, pull requests, merge, rebase, and more.
✨TL;DR / Executive Summary
Learn how to organize your Git workflow: branches, strategies, pull requests, merge, rebase, and more.
💡 TL;DR (Too Long; Didn't Read)
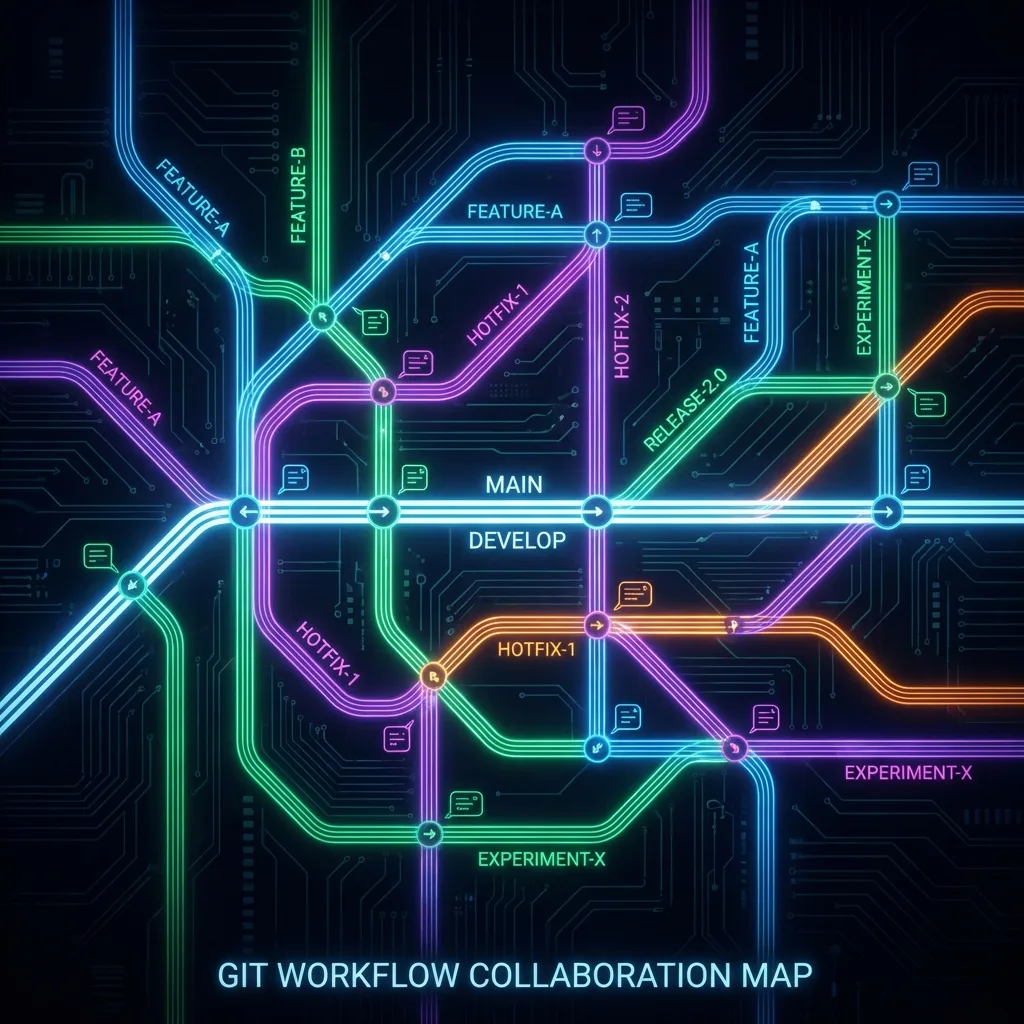
Git branches are fundamental for teams. Pick a strategy (Git Flow or Trunk-Based), keep
mainalways deployable, use short-lived feature branches, make small focused PRs, understand merge vs rebase, and establish simple agreements with your team. The difference between a chaotic dev and a professional is exactly this: workflow organization.
If your Git usage boils down to git add ., git commit, and git push straight to main, you're playing on easy mode and leaving a lot of productivity (and sanity) on the table.
In this article we'll move from "solo" Git to team Git:
- How to use branches intelligently
- Branching strategies (without turning it into religion)
- Merge vs rebase in practice
- How not to be the dev who breaks
mainevery week - Real-world tips for PRs (pull requests) your team will actually like
1. Why branches matter so much
Branches are the foundation of any halfway decent Git workflow.
Without branches:
- Everything lands directly on
main - Test bugs take down stable code
- It's hard to see what was deployed when
With well-used branches:
- You isolate features, bugfixes, and hotfixes
- You review code in small chunks (pull requests)
- You can roll back specific functionalities more easily
Golden rule:
main(ormaster) should always be in a deployable state.
If you can't deploy main at almost any moment, your workflow is sabotaging you.
2. Creating and navigating branches
Let's recap and organize key branch operations.
Create a new branch from the current one
git checkout -b feature/login-screenSame as:
git branch feature/login-screen
git checkout feature/login-screen
List branches
git branch        # local

git branch -a     # local + remote
Switch branches
git checkout mainOr with newer Git:
git switch -c feature/profile-screen   # create and switch

git switch main                        # just switch
3. Branching strategies without fanboyism
There are many named models. We'll talk about the two most common in real life.
3.1. Git Flow (classic)
Useful for teams with more defined release cycles.
Main branches:
main→ productiondevelop→ continuous integration of features
Supporting branches:
feature/*→ new functionalitiesrelease/*→ stabilize a version before releasinghotfix/*→ emergency fixes in production
Pros:
- Well-structured for release-based products
- Good for versioned software (1.2.3, 1.2.4, etc.)
Cons:
- Can be too heavy for small teams
- Lots of branches for few people
3.2. Trunk-Based Development (TBD)
More modern and common in teams with frequent deploys.
main(ortrunk) is the central branch- Features live in short-lived branches that return quickly to main
- Feature flags control unfinished features in production
Pros:
- Fewer "forgotten" branches
- Enables continuous delivery more easily
Cons:
- Requires strong discipline with tests and automation
- When done wrong,
mainturns into a party
Honest summary: pick ONE model, adapt, document it, and make everyone follow. A model without team consensus is just versioned chaos.
4. A healthy feature lifecycle
A good flow for a new feature might look like this:
- Update your local
main
git checkout main
git pull origin main- Create a feature branch
git checkout -b feature/login-screen- Make small, focused commits with meaningful messages
git add .
git commit -m "feat: add basic login screen layout"

# ...

git commit -m "feat: integrate login screen with auth API"- Sync your branch with
main
Safer option (merge):
git checkout feature/login-screen
git fetch origin
git merge origin/main
Cleaner history (rebase):
git checkout feature/login-screen
git fetch origin
git rebase origin/main-
Open a Pull Request (PR) from your branch to
mainordevelop -
After review, merge and optionally delete the feature branch
git checkout main
git pull origin main  # get the merge

git branch -d feature/login-screen            # local

git push origin --delete feature/login-screen # remote (to keep things tidy)
5. Merge in practice: when and how to use it
Basic command:
git checkout main
git pull origin main

git merge feature/login-screen
If there are no conflicts, Git creates a merge commit.
Merge commit vs fast-forward
-
Fast-forward: when
mainhasn't moved since you branched off. Git just "moves the pointer" with no merge commit. -
Merge commit: when
mainalso changed. Git creates an extra commit with two parents.
Control it with flags:
git merge --no-ff feature/login-screen   # always create merge commit

git merge --ff-only feature/login-screen # only fast-forward, otherwise fail
Teams that like to see each feature as a clear block often use --no-ff to preserve that structure.
6. Rebase: making history linear (and beautiful)
git rebase rewrites the base of your commits as if they were created on top of another point.
Common flow:
git checkout feature/login-screen
git fetch origin
git rebase origin/main
If there are conflicts:
- Edit the conflicting files
git addthe resolved ones- Continue the rebase:
git rebase --continueIf things get ugly and you want to abort:
git rebase --abortSurvival rule: rewriting public history is asking for chaos. Rebase is excellent on local branches, dangerous on shared ones.
7. Pull requests your team will actually like
A pull request isn't just "pressing the button".
Practical tips:
- Keep PRs small and focused (ideally 100–300 lines, not 3000)
- Write a clear description: what was done, why, how to test
- Tag the right reviewers (not the entire team every time)
- Use labels to categorize (
bug,feature,hotfix)
Example description:
## What was done
- Add login screen with email/password
- Integrate with /auth/login API

## How to test
1. Run `npm install && npm start`
2. Go to /login
3. Try logging in with a valid user

## Notes
- "Forgot password" flow is not implemented yet
The clearer it is, the easier it is to approve.
8. Handling conflicts without panicking
Merge or rebase conflicts don't mean you failed. They mean the team is working in parallel.
When Git reports a conflict:
- See which files are conflicted
git status- Open the file: you'll see something like:
<<<<<<< HEAD
code from your current branch
=======
code from the other branch
>>>>>>> feature/something-
Edit the file, keeping what makes sense (sometimes both sides), and remove
<<<<<<<,=======,>>>>>>>markers. -
Mark as resolved and continue:
git add path/to/file
# if it's a regular merge
git commit

# if it's a rebase
git rebase --continue
Tip: tools like VS Code, IntelliJ, etc. are GREAT for visualizing conflicts, but you should still understand what's happening underneath.
9. Tiny team agreements that avoid huge fights
Some simple team rules:
- "We never
push --forcetomain" - "We always sync from
mainbefore opening a PR" - "PRs need at least 1 or 2 approvals"
- "We don't merge red builds"
- "Feature branches should live for days, not months"
These may sound like bureaucracy, but they save you from a ton of rework.
10. Summary: grown-up Git is more about TEAM than COMMANDS
In this article, you saw:
- Why branches are essential in real teams
- Different strategies (Git Flow vs Trunk-Based)
- Merge and rebase applied to daily work
- How to design a healthy feature lifecycle
- How to write PRs that make everyone's life easier
Mastering this changes how your team sees you:
- You go from "knows how to run git" to "helps organize our workflow".
In the next article, we'll dive into powerful, less obvious commands:
revert,cherry-pick,reflog,bisect- And more tactics to investigate bugs and recover work.